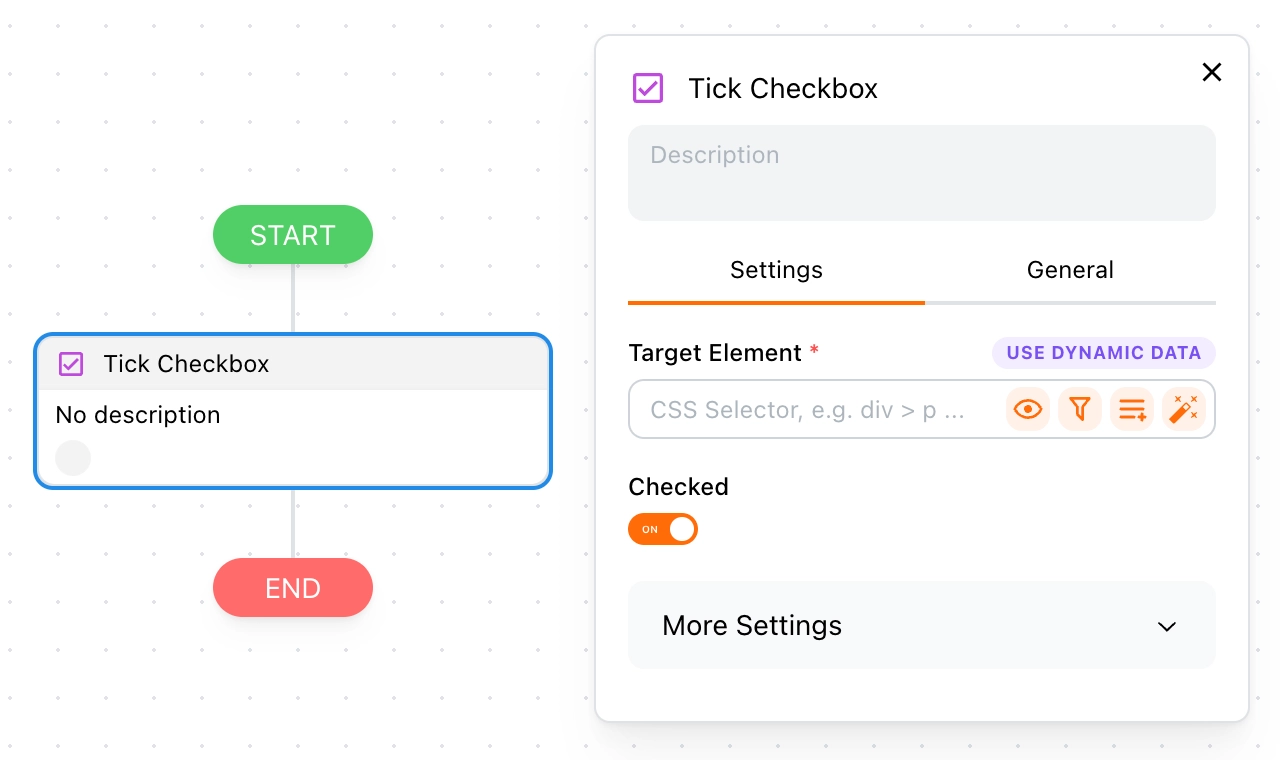
Tick Checkbox
In this section, we will guide you on how to use the Tick Checkbox block.
Use Cases
RPA (Robotic Process Automation) excels at automating repetitive tasks, and ticking checkboxes—a common form of user interaction—is widely used in RPA. Although this block is designed for ticking checkboxes, it also works with radio button groups.

Example
Here is a simple example of selecting a role.
How It Works
Here’s the HTML code for the example above:
<fieldset>
  <legend>Choose your role:</legend>

  <div>
    <input type="checkbox" id="student" name="student" />
    <label for="student">Student</label>
  </div>

  <div>
    <input type="checkbox" id="teacher" name="teacher" />
    <label for="teacher">Teacher</label>
  </div>
</fieldset>
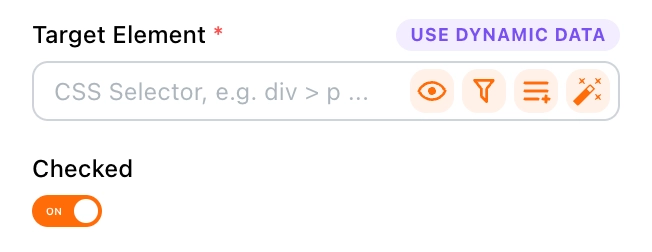
This block is simple to use; you only need to set the target element to tell Tapicker which checkbox to tick.
- Target Element: Typically, this is an
inputelement of typecheckboxorradio. - Checked: Sets the tick status.

For tips on setting the Target Element, refer to the Target Element section.
Example
If you want to select Student, set it up as follows:
- Target Element:
input#student - Checked:
on
FAQ
Why am I unable to tick the checkbox?
This could be due to the following reasons:
- The target element must be an
inputelement of typecheckboxorradio. - The target is dynamically loaded; add a delay to ensure it appears on the page before ticking.
- It might be a checkbox component provided by a third-party UI library.
How can I tick a third-party checkbox component?
If this block cannot tick your checkbox, try using the Click Element block to click it.