Element Finder
In this section, we will guide you on how to use the Element Finder.
Introduction
Finder is a tool designed to help you quickly select elements from a webpage. It is one of the key components of Tapicker.
Writing a CSS Selector for an element can be challenging, as it requires knowledge of HTML and CSS syntax. The Finder is built to solve this problem, allowing you to generate a Selector with just a few clicks. Whether you're an expert or a beginner, you'll find it extremely convenient.
Mastering its usage will make it much easier to set target elements!
💡 Tip:
While knowing HTML and CSS is not mandatory, having some prior understanding will greatly benefit you.
For convenience, Finder here refers to Element Finder, and Selector refers to CSS Selectors throughout this documentation.
How to Open the Finder?
There are two ways to open the Finder:
1. Click on the small icon on the target element component (this is the most common method).
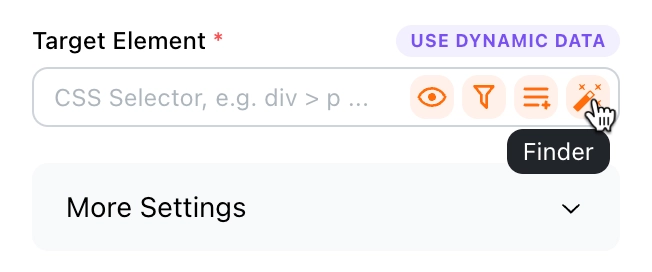
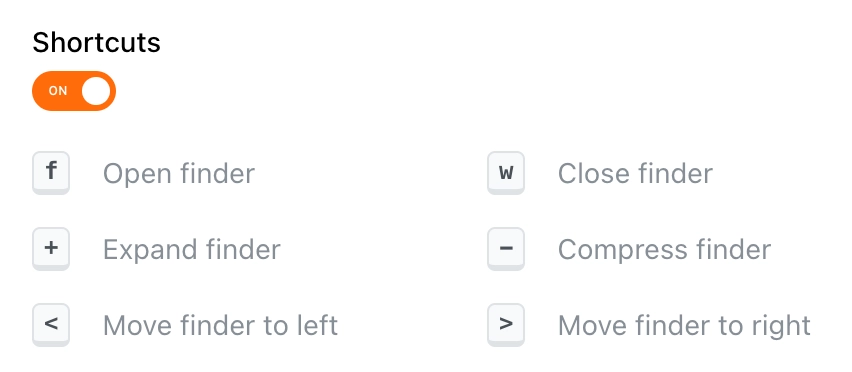
2. Press the f key if keyboard shortcuts are enabled (this is mainly for temporary testing).
Selecting an Element
Selecting an element is incredibly simple. Just hover your cursor over the element you want to target. When the cursor changes to a "grab" icon, click on the element to select it. The selected element will be highlighted in pink.
You can open the Best Seller Books page and try it out.
Once the element is selected, a CSS Selector will be automatically generated and populated into the input field at the top.

If you're not satisfied with the generated Selector, you can either modify it directly or adjust the Selector Type in the settings.
In addition to simple element selection, Finder also provides navigation features to help you pinpoint elements more precisely.
Navigating Elements
You can navigate to other elements using this panel, which is especially useful for elements that can't be selected with a mouse or are hidden.
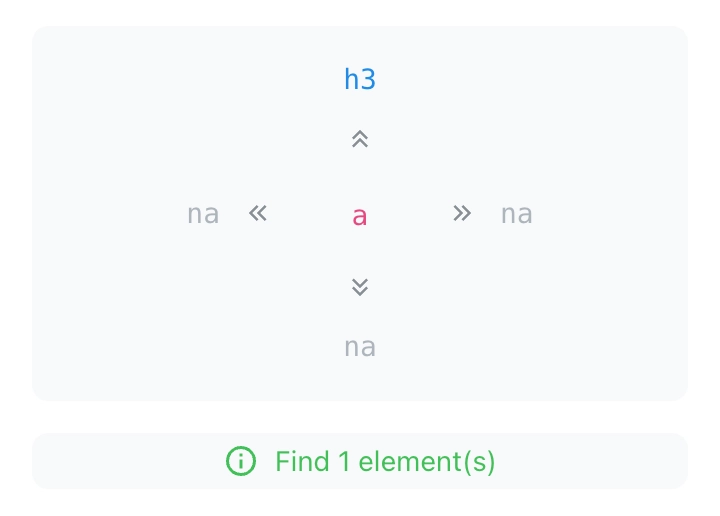
The number of elements found will be displayed at the bottom of the navigation panel. If the number is 0, it means the Selector is invalid.
Example
In this example, the HTML structure is as follows:
<div class="book-card_info">
  <h3 class="book-card_title">
    <a href="/training/best-seller-books/5610cd54">
      The Bequest: A Dark Academia Thriller
    </a>
  </h3>
  <div class="book-card_author">Joanna Margaret</div>
  <div>
    <span class="book-card_price">$25.06</span>
    <span class="book-card_original-price">$26.95</span>
  </div>
</div>
💡 Tip:
To better understand this section, we recommend learning some basic HTML first.
Now, let's see how to navigate to other elements.
Navigating to the Parent Element
Click the up arrow (⬆️) to navigate to the parent element.
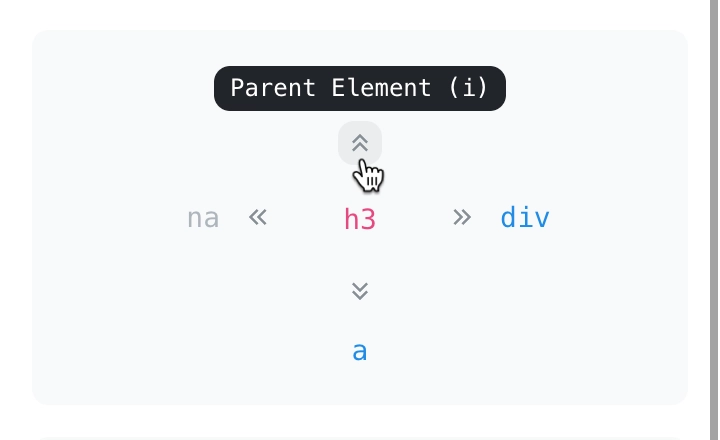
The parent element of a is h3:
<h3 class="book-card_title">...</h3>
Navigating to the Next Sibling Element
Click the right arrow (➡️) to navigate to the next sibling element.
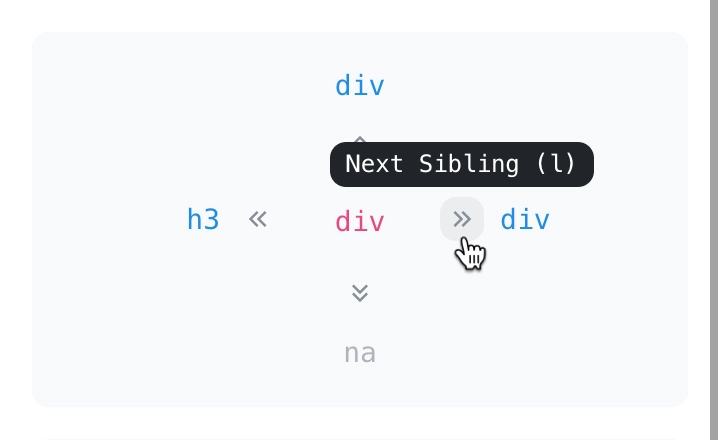
The next sibling of h3 is div:
<div class="book-card_author">Joanna Margaret</div>
Navigating to the Previous Sibling Element
Click the left arrow (⬅️) to navigate to the previous sibling element.
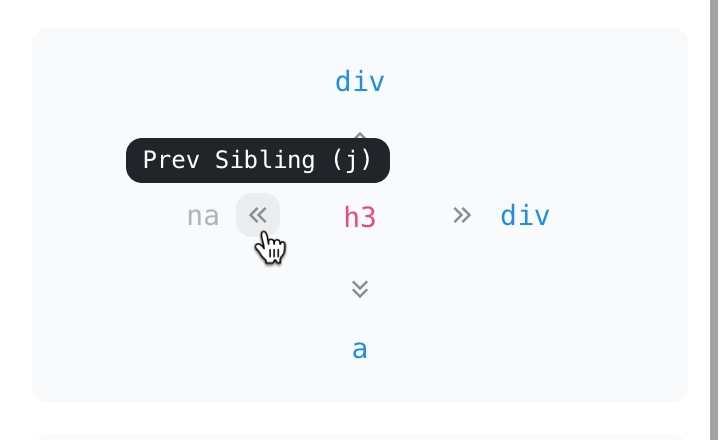
The previous sibling of div is h3:
<h3 class="book-card_title">...</h3>
Navigating to the Child Element
Click the down arrow (⬇️) to navigate to the first child element.
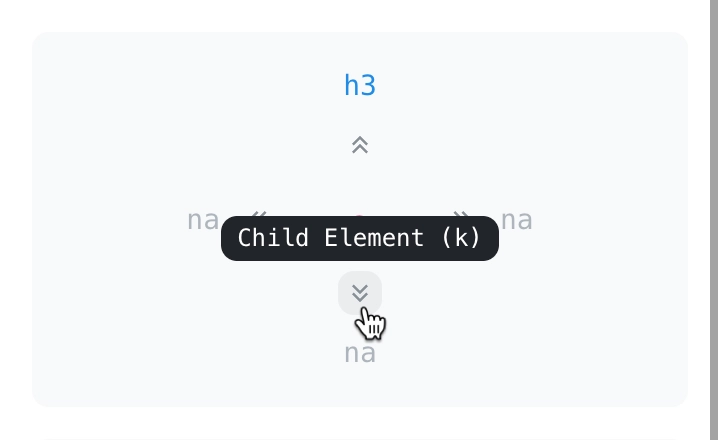
The first child element of h3 is a:
<a href="/training/best-seller-books/5610cd54">
  The Bequest: A Dark Academia Thriller
</a>
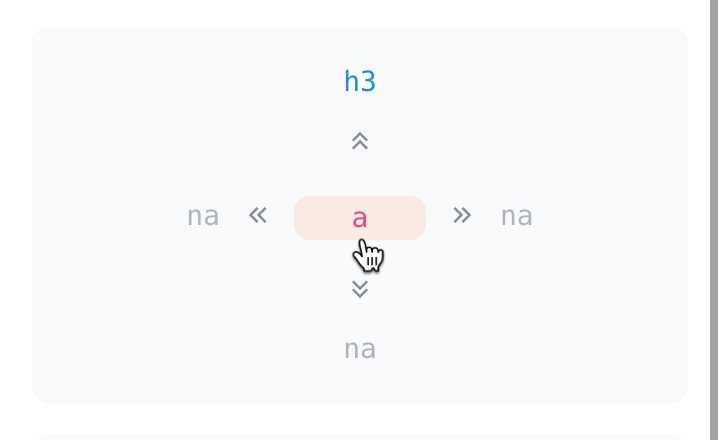
Focusing on an Element
Clicking the center element (here, the a element) will quickly scroll it into the viewport.
Element Attributes
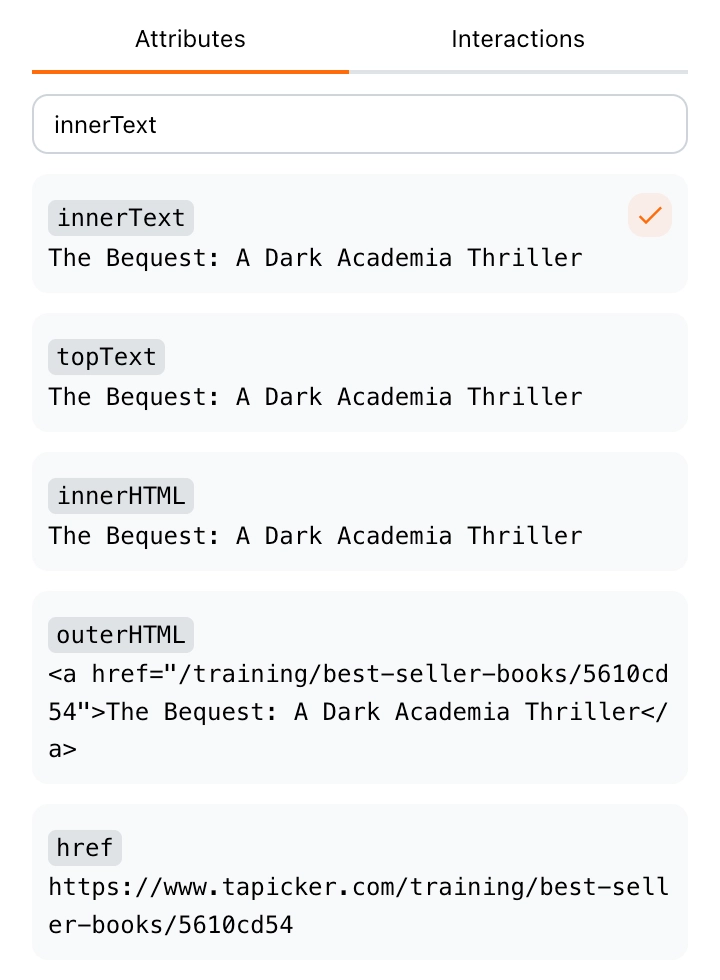
Elements have various attributes, and here you'll find a list of accessible attributes along with their data. You can select the one you need from the list.
💡 Tip:
If you can't find the attribute you're looking for, you can manually enter the attribute name in the input field above. You can also use access paths likea.b.c.
In addition to standard HTML attributes, we provide three custom attributes: topText, backgroundImage, and comments.
-
topTextextracts the direct text of an element without including any child elements' text.For example, if a
divelement is structured like this:<div> Hello <span>Tapicker</span> </div>Accessing the
topTextattribute will return:"Hello" -
backgroundImageextracts the background image of an element.For example, if a
divelement is structured like this:<div style="background-image: url('https://tapicker.com/example.png')"></div>Accessing the
backgroundImageattribute will return:"https://tapicker.com/example.png" -
commentsextracts any comments inside the element.For example, if a
divelement is structured like this:<div> <!-- Product Start: 12345 --> <div class="product-item">...</div> <!-- Product End: 12345 --> </div>Accessing the
commentsattribute will return:[ "Product Start: 12345", "Product End: 12345" ]
Interaction Testing
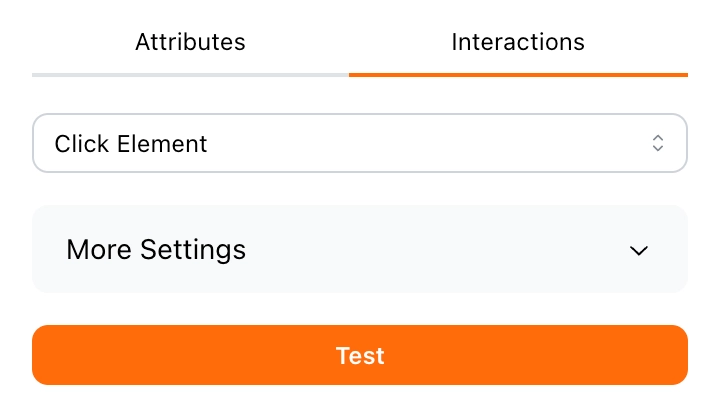
When you need to interact with a webpage but aren't sure if it's working correctly, you can test it here first.
Modes
Finder provides two modes for generating Selectors in the settings. Both modes are effective at generating short and efficient Selectors, and are suitable for different scenarios.
Continue reading to learn about their differences and applicable scenarios.
Unique Mode
When you select an element, it will automatically generate a CSS Selector for the unique element.
div:nth-of-type(3) > div > div > h3 > a
This mode is useful for setting target elements for interaction blocks like Click Element and Input Text.
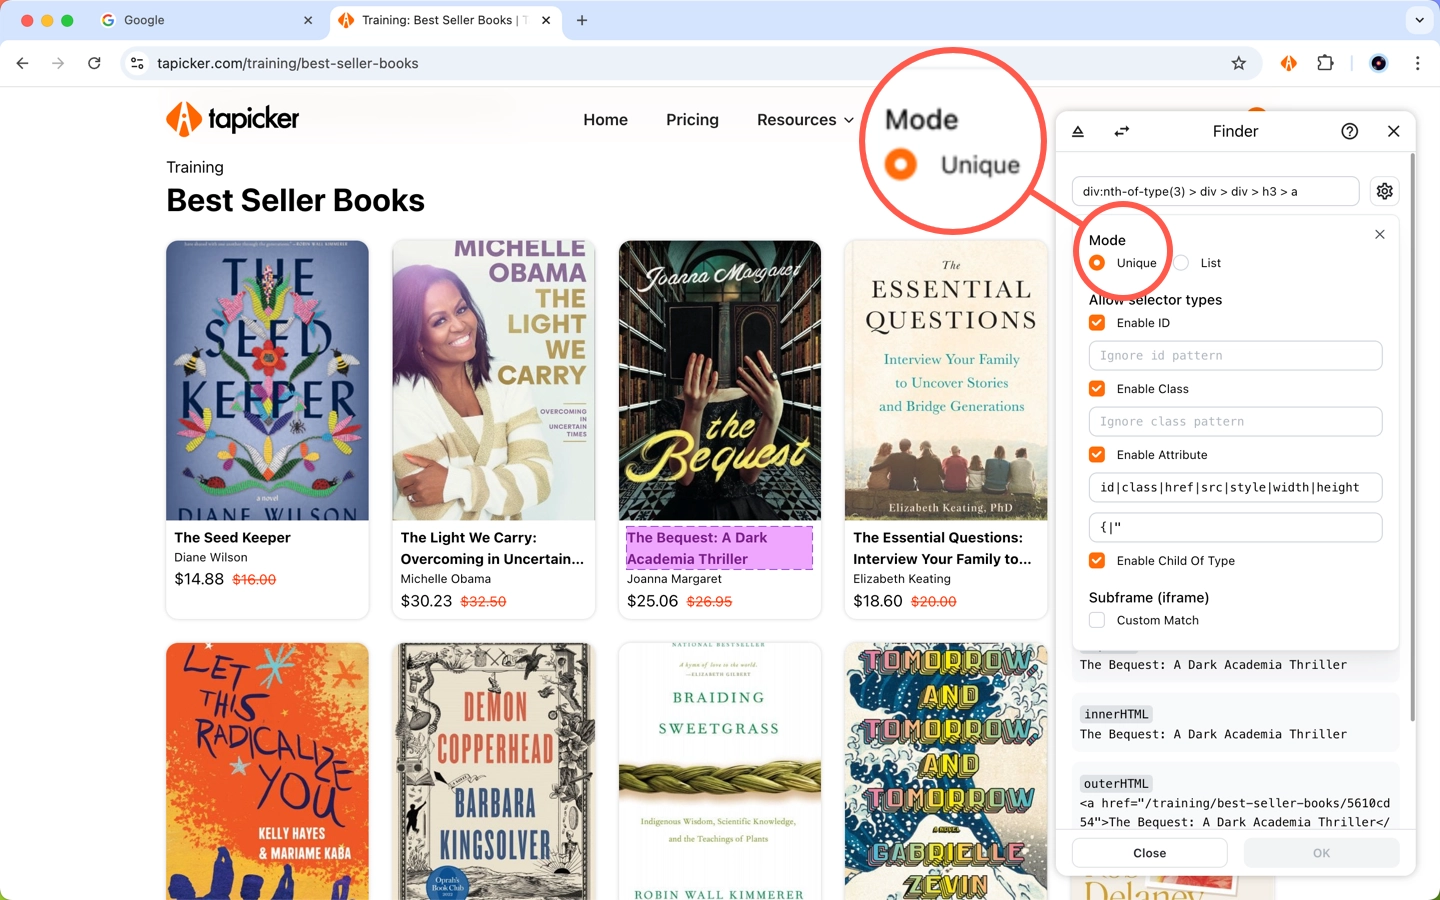
In the page, the selected element will be highlighted with a pink outline.
List Mode
When you select an element, it will automatically generate a CSS Selector for similar elements.
div.book-list > div.book-item
This mode is useful for setting target elements for row of Extract Data.
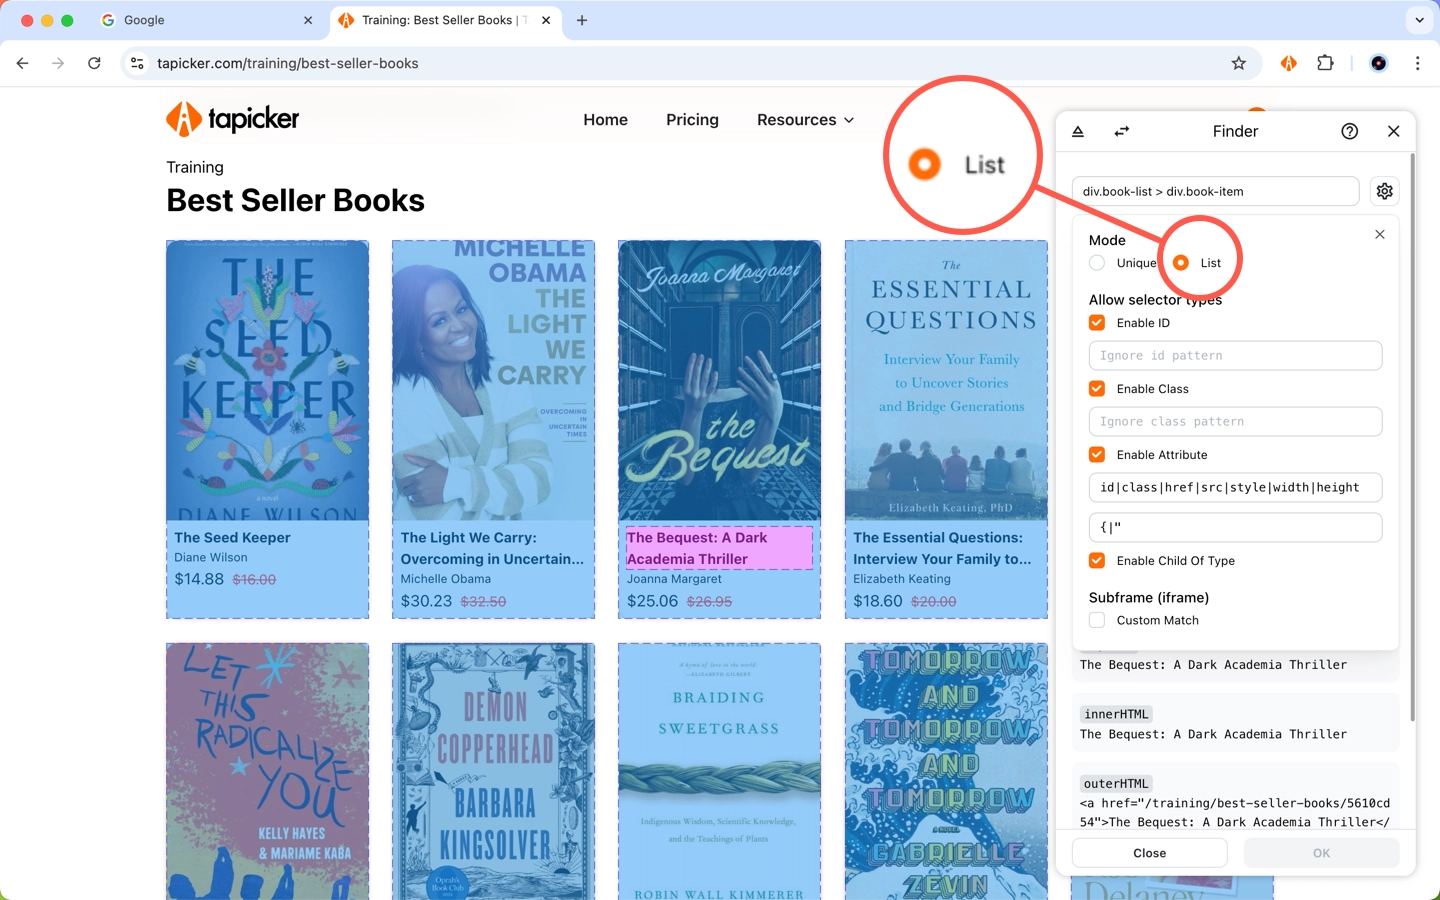
In the page, the selected element will be highlighted with a pink outline, while elements automatically inferred by the algorithm as similar will be highlighted in blue.
How It Works
Once an element is selected, it will search upwards until it finds the nearest list (similar elements).
Selector Types
By default, all selector types are enabled. You can filter or disable a type based on your needs.
💡 Tip:
We highly recommend you see the CSS Selector section before learning this part.
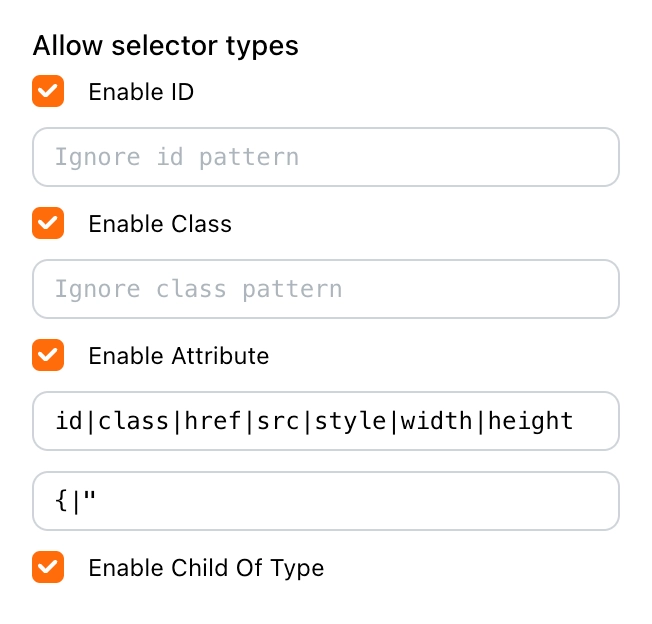
When Should I Disable a Selector Type?
-
When an ID Selector includes specific numbers, for example:
div#note_1421312This is tied to a specific note ID, so you won't be able to select other notes besides
1421312. In this case, you should disable it. -
When a Class Selector contains random strings, for example:
div.3af8dc6This is common in modern websites. The class name may change when the website is updated. In short, it's unstable. If the target website is frequently updated, it's recommended to disable it.
-
When an Attribute Selector includes a specific product name, for example:
div[title="Dokotoo Women 2024 Summer Ruffle Edge Sleeve Dresses"]Similar to case 1, it's recommended to disable or filter out the
titleattribute.
Custom iframe Matching
If you're selecting elements from a subframe (iframe), you typically don’t need to modify its settings. However, in extreme cases, you can customize the URL pattern here.

Example
Suppose the iframe URL is as follows:
https://www.tapicker.com/books/details?id=5610cd54&from=email
When you select a target element, this URL is automatically recorded and used during execution to locate the frame containing the target element.
If the iframe URL changes, for example:
https://www.tapicker.com/books/details?id=584d20f1
It will fail to match, leading to an inability to locate the target element and unexpected results.
In this case, it is recommended to customize the URL pattern as follows:
https://www.tapicker.com/books/details
Ignore the query parameters to ensure correct matching.
FAQ
Why can't I open the Finder?
If this is your first time installing Tapicker, please refresh the page and try again. If not, disable the extension, re-enable it, and then refresh the page.
How do I select similar elements across regions?
When you need to select multiple similar elements, pressing the 2 key will help you automatically select other similar elements on the page.
As shown in the video, first select the initial element, then hover your cursor over a second similar element. Press the 2 key to select it. At this point, all similar elements can be inferred.
⚠︎ Note:
Webpages are ever-changing, and this method may not work on certain websites. If you encounter this, you'll need to manually analyze the HTML structure of the page and write an appropriate Selector.