Scroll Page
In this section, we will guide you on how to use the Scroll Page block.
Use Cases
Scroll Page is a common operation in RPA, especially when handling long web pages or document content. When content exceeds the visible screen area, scrolling is needed to view the entire content.
Scroll Page Use Cases:
- Web Data Extraction:
- Infinite Scrolling Pages: Many social media and news websites use infinite scrolling to load content. RPA can simulate user scrolling to continuously load new content, enabling extensive data extraction.
- Dynamic Content Loading: Some web pages load content dynamically with JavaScript, displaying elements only when scrolled into view. RPA can trigger this content loading by scrolling, making it available for extraction.
- Form Filling:
- Long Forms: For long forms that require multiple scrolls to access each field, RPA can automatically scroll to each input field’s position for filling.
- Software Testing:
- Page Content Validation: By scrolling through a page, RPA can check if all elements display correctly and if there are any layout issues.
- Simulating User Behavior: In software testing, simulating user scroll actions can help uncover hidden bugs.
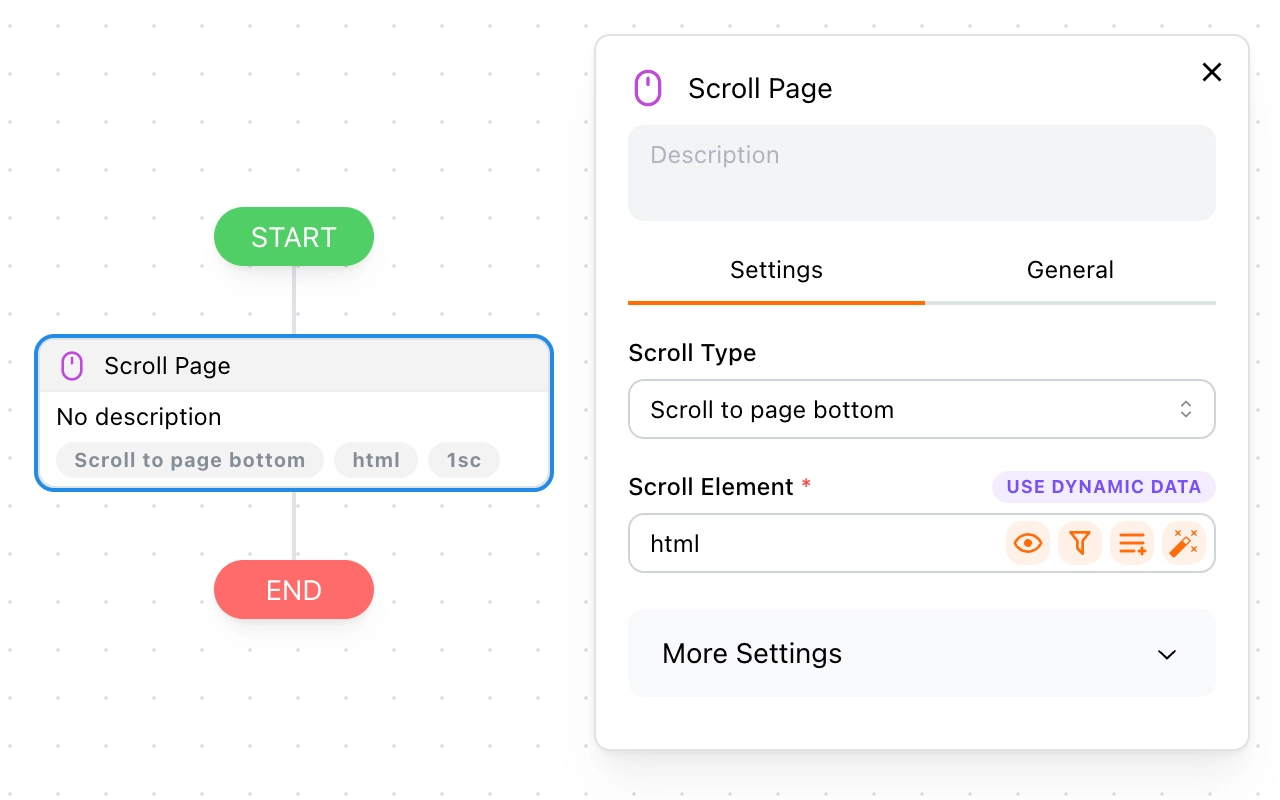
Scroll Type
Tapicker offers four scroll types to choose from:
- Scroll to page bottom: Scrolls from the current position to the bottom of the page.
- Scroll to element position: Scrolls from the current position to the target element.
- Scroll to specified position: Scrolls from the current position to a specific position.
- Scroll from current position: Scrolls a set distance from the current position.
Next, let’s cover each type in detail.
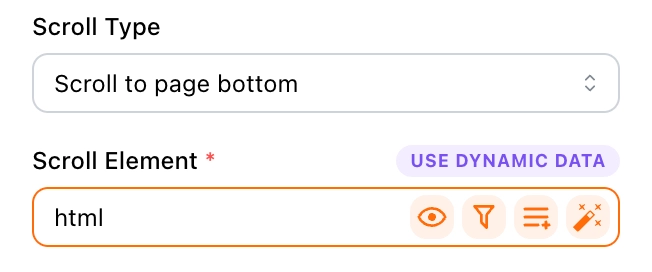
1. Scroll to page bottom
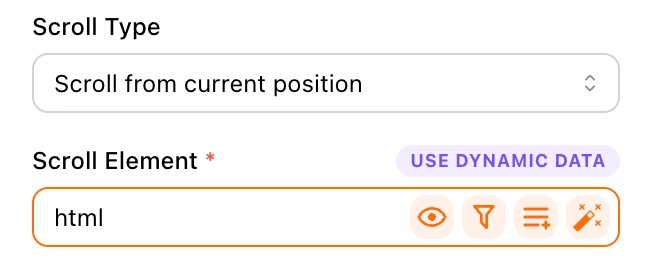
You need to set the Scroll Element, which defaults to html for global scrolling. This works on most websites. You can change it to other elements for localized scrolling. If set to a non-scrollable element, Tapicker will automatically look upward in the DOM to find the nearest scrollable element.
For tips on setting target elements, see the Target Element section.
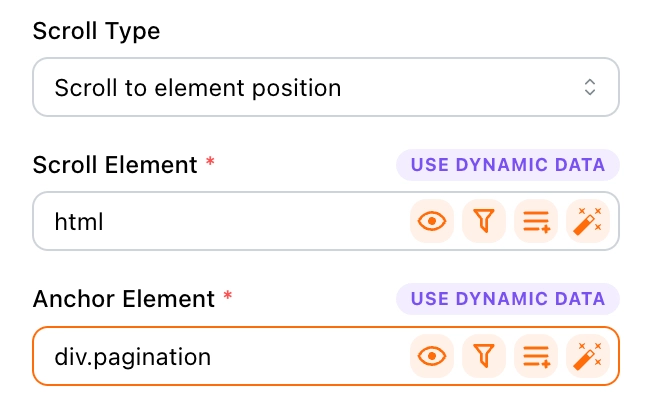
2. Scroll to element position
You need to set an Anchor Element to tell Tapicker where to scroll. Depending on your needs, you may also choose to modify the Scroll Element.
For tips on setting target elements, see the Target Element section.
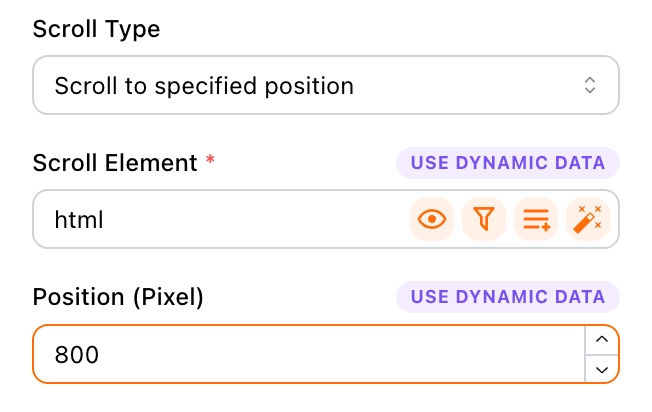
3. Scroll to specified position
Set the Position to scroll to a specific point. Possible values include:
- Positive Number: Scrolls down from the current position.
- 0: Scrolls to the top of the page.
- Negative Number: Scrolls up from the current position.
For random scrolling, you can use an expression like the following to scroll a random distance between 500 and 2000 pixels.
{{@funcs.getRandomNum(500, 2000)}}
For tips on setting target elements, see the Target Element section.
4. Scroll from current position
Like Scroll to page bottom, you only need to set the Scroll Target for this to work. This scroll type is ideal for use with the Loop block to achieve infinite scrolling.
For tips on setting target elements, see the Target Element section.
More Settings
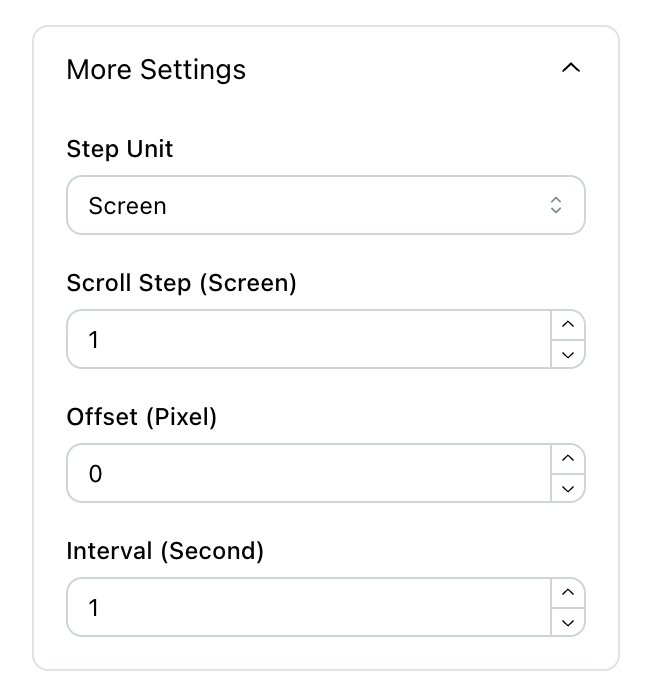
To mimic human behavior, scrolling is done in steps. In More Settings, you have several options to customize the scrolling behavior. Let’s go over each option.
Step Unit
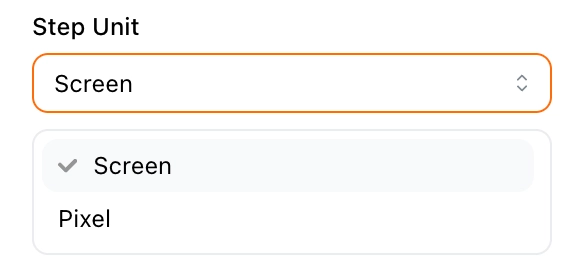
You can choose between two step units:
- Screen: Represents the height of the browser's viewport.
- Pixel: The smallest unit of measurement on the screen, representing an individual dot.
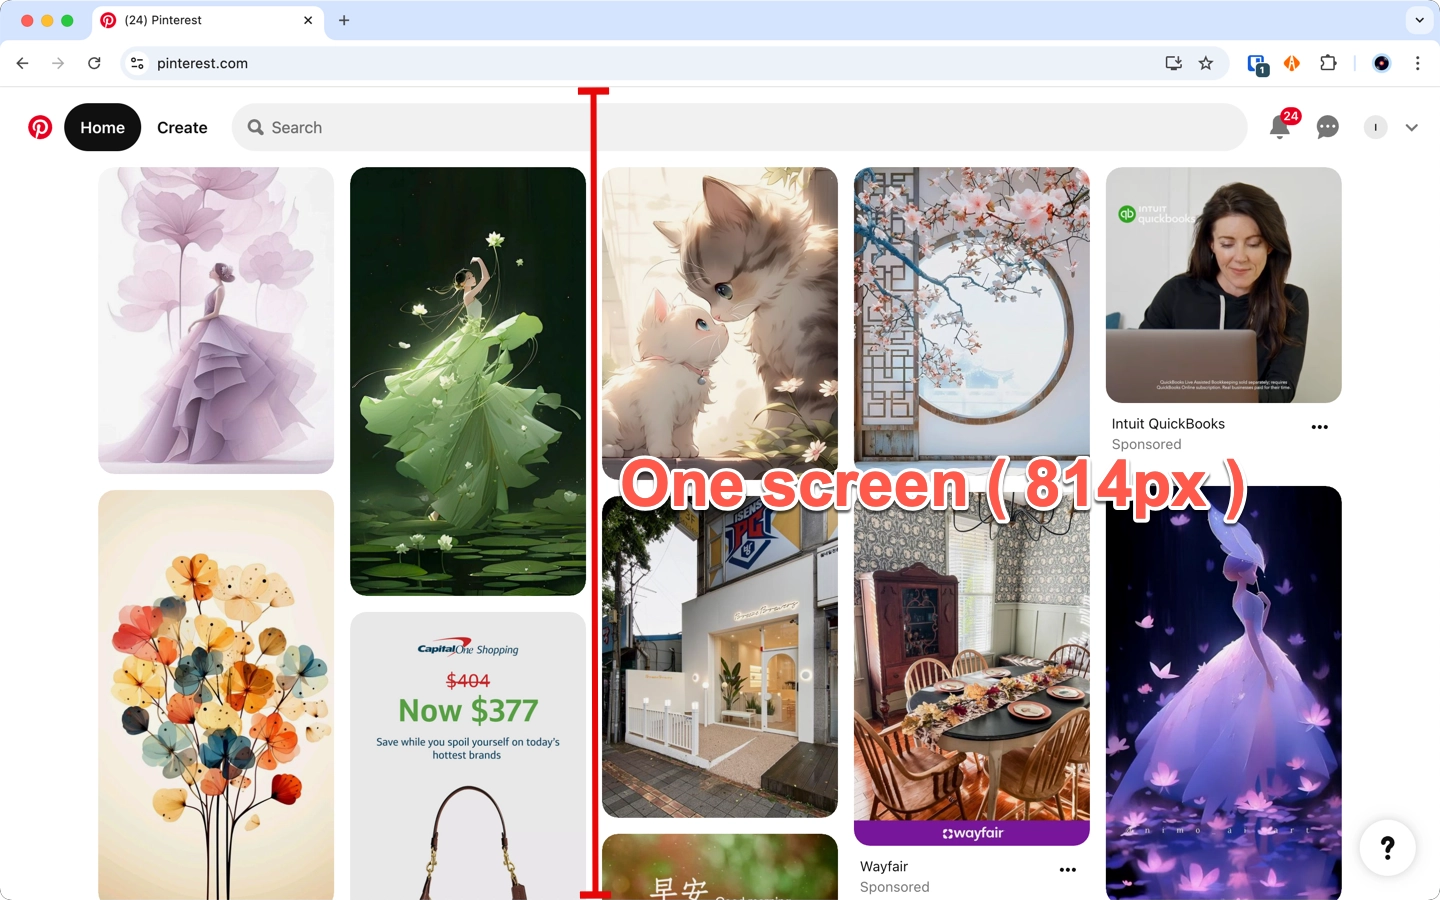
If these units seem abstract, consider this example: a 1440 x 900 pixel image with a browser window height of 900 pixels and a visible area of 814 pixels. Thus, 1 screen equals 814 pixels.
Scroll Step
Set an appropriate scroll step based on the Step Unit. Positive values scroll down; negative values scroll up.
Offset
Add or subtract pixels from the target position to achieve the desired positioning.
Example
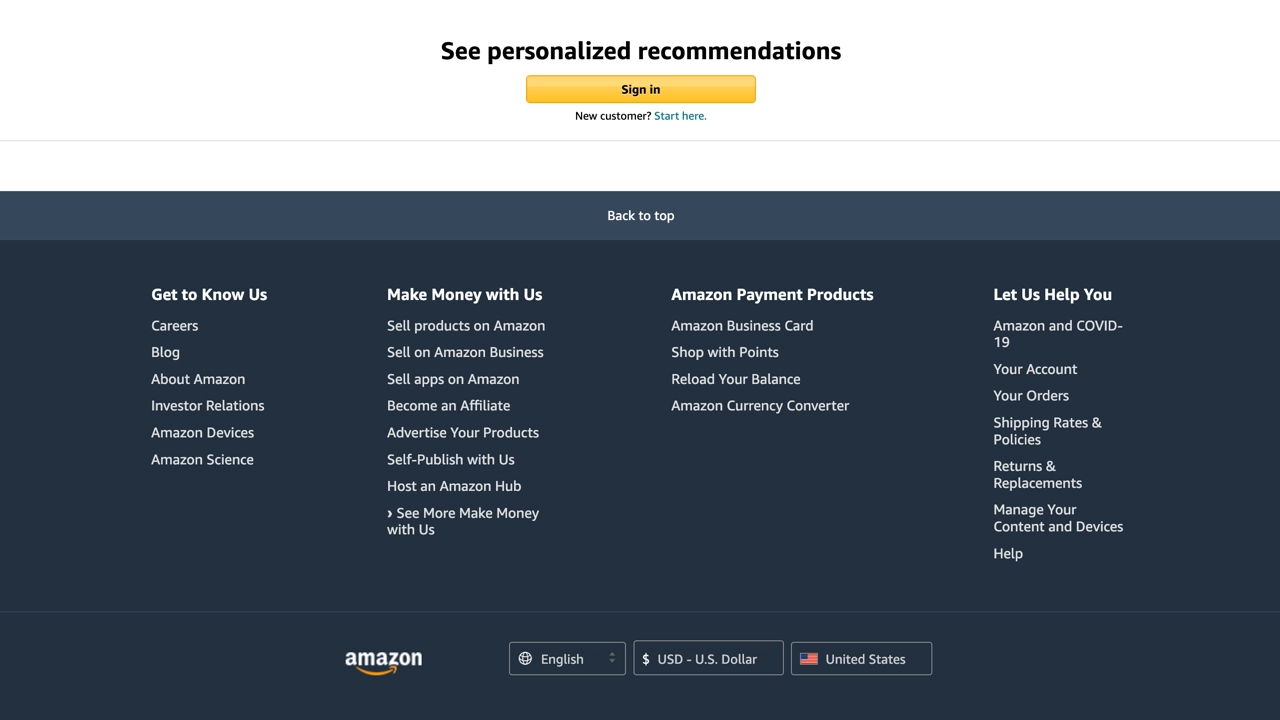
If you choose Scroll to page bottom but want to exclude the footer, set an offset to avoid it. For example, if the footer height is 420px, set the offset to -420.
Interval
The interval specifies the wait time between each scroll step.
FAQ
How do I enable smooth scrolling on Windows?
Chrome has a hidden smooth scrolling feature you can enable as follows:
- Open Chrome, enter
chrome://flagsin the address bar, and press Enter. - On the experiments page, search for “Smooth Scrolling.”
- Enable smooth scrolling by changing the setting from “Default” or “Disabled” to “Enabled.”
- Restart Chrome to apply the setting.
After restarting, Chrome's scrolling should feel smoother.
Why can’t I scroll to the actual page bottom?
This happens because this block captures the page’s initial height and begins scrolling, but dynamic content loading during scrolling (infinite scrolling pages) increases the page height without updating the initial height. For such pages, it's recommended to use this with the Loop block for stepwise scrolling.
What happens when reaching the bottom of the page?
In infinite scrolling scenarios, on first reaching the bottom, it retries three times to confirm if it’s truly the bottom, then raises an error. You may need to handle this error to break the loop.
Can I scroll in reverse from bottom to top?
Sure! You can do this by setting the Scroll Step to a negative number.