Target Element
In this section, we'll show you the details of setting up target element.
Introduction
The target element component is used in multiple places and helps quickly select elements from the page. Through the target element, Tapicker knows how to interact with the page and extract data.
For example, it knows which button to click, where to input text, and from which elements to scrape data.

Therefore, whether you want to click a button, input text, or extract data from the page, correctly setting the target element is key to ensuring that Tapicker can accurately identify and operate on the page.
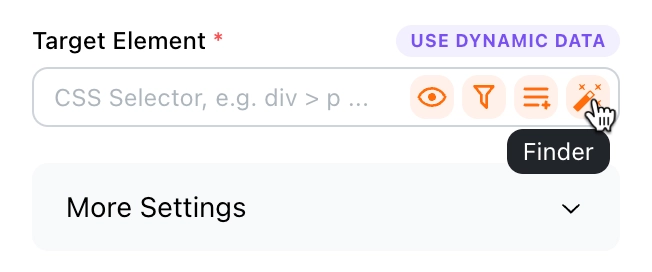
Open Finder
Click the following icon to open the Finder. The usage of Finder has been explained in the previous section. If you're not familiar with it yet, please refer to Element Finder.
Set Alternate Elements
When there are slight variations on the page, you can set alternates for an element to accommodate these differences and ensure your workflow keeps functioning.
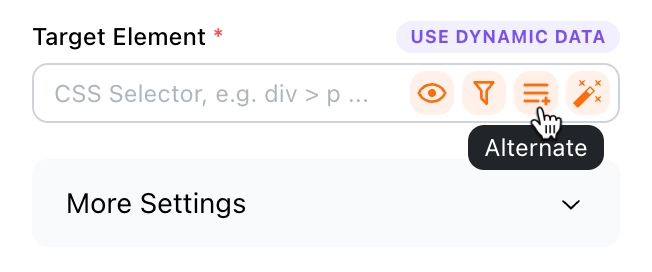
How it works:
Tapicker will check each alternate element in the order they are set until it finds a match. Suppose you set A01 and A02 as alternates. Tapicker will first look for A01 on the page. If it can't find it, it will fall back to A02, and so on.
Set Filters
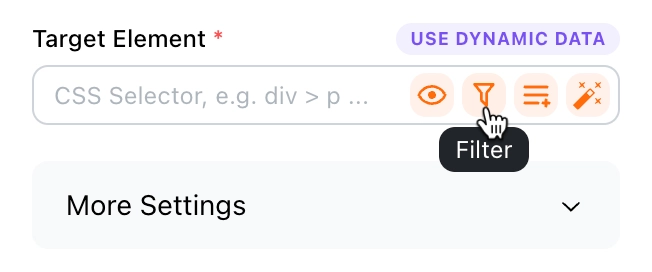
If you want to further refine the target element, you can apply filters.
Filter by Selector
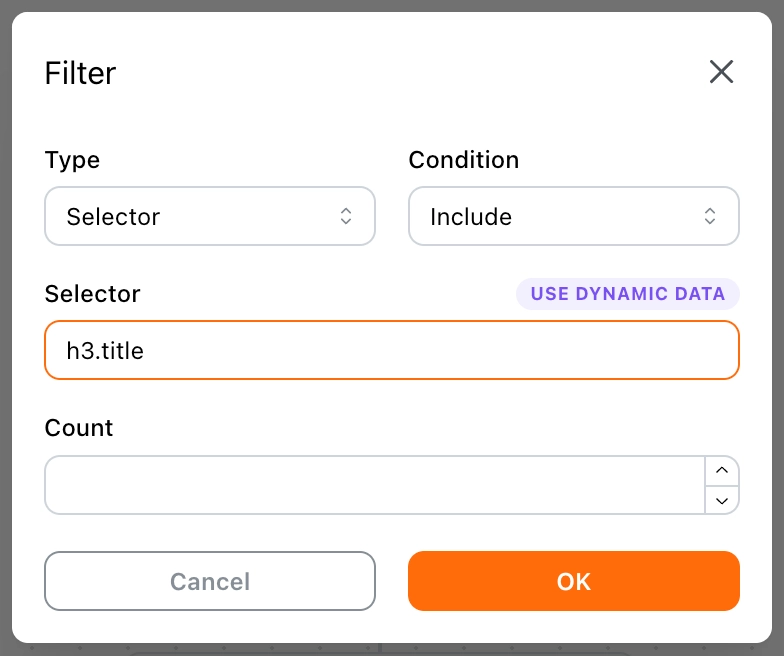
You can filter target elements by including or excluding certain selectors.
For example, find target elements that include the selector h3.title:
Filter by Text
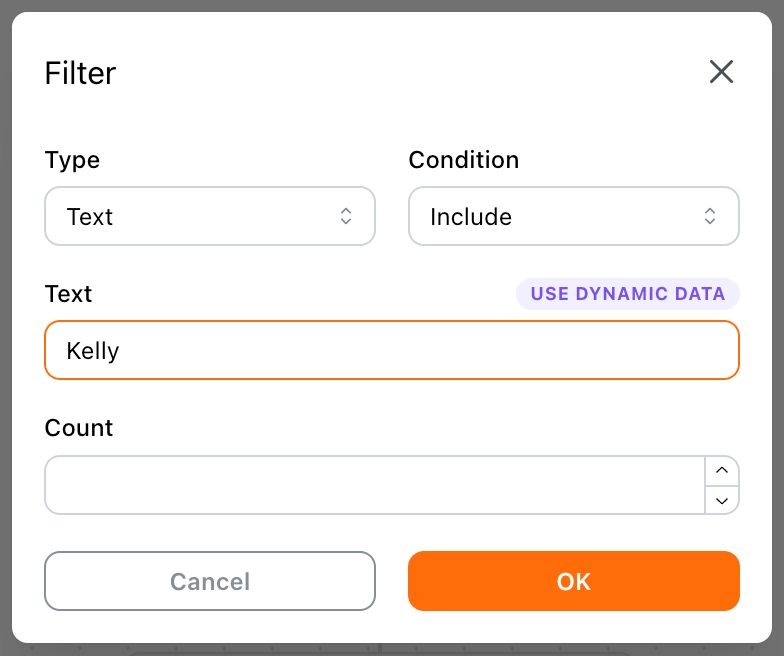
You can filter target elements by including or excluding certain text.
For example, find target elements that include the text Kelly:
💡 Tip:
You can use regular expression patterns for text matching, such asKelly|Robin, which matches target elements containing eitherKellyorRobin.
Preview and Transform Data
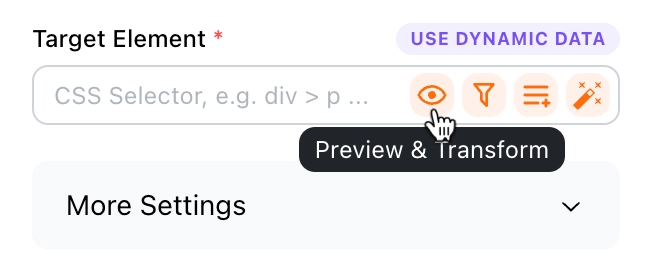
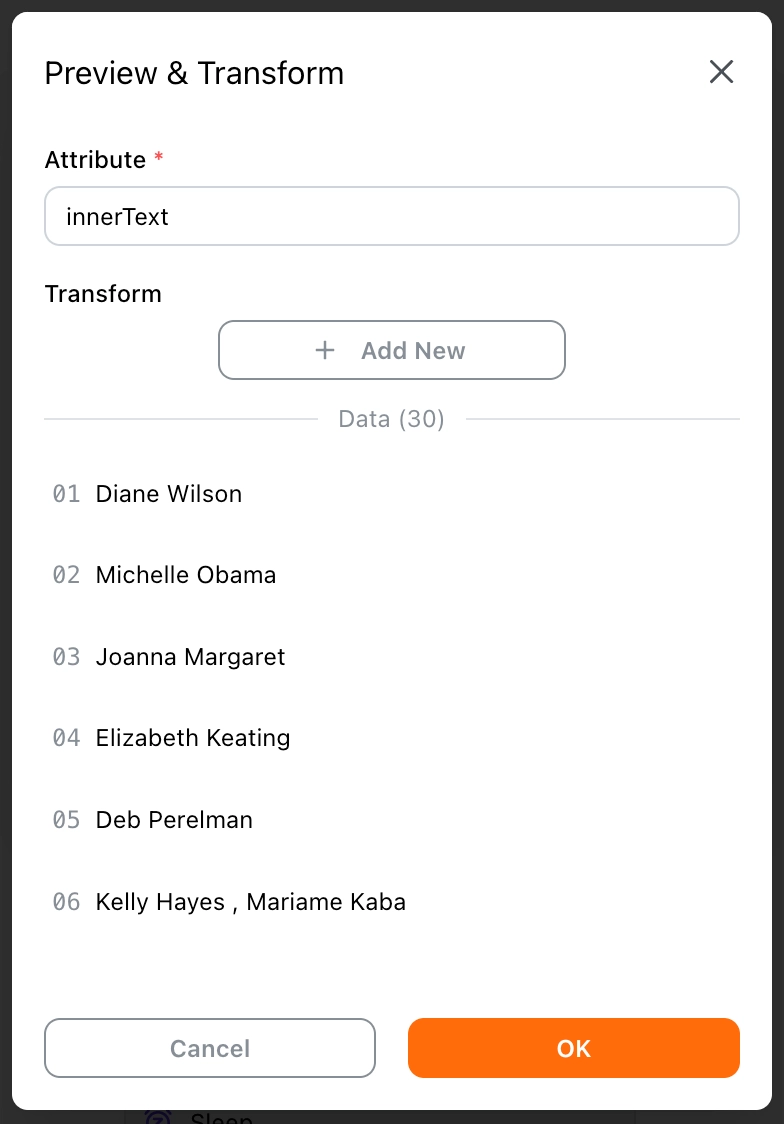
You can click this eye icon to preview the data. By previewing the data, you can ensure that your selectors and filters are set correctly and that the extracted data meets your expectations.
The data preview panel looks like this:
Extract Attributes (Optional)
If you are scraping data, you can select or enter the name of the attribute you want to extract here.
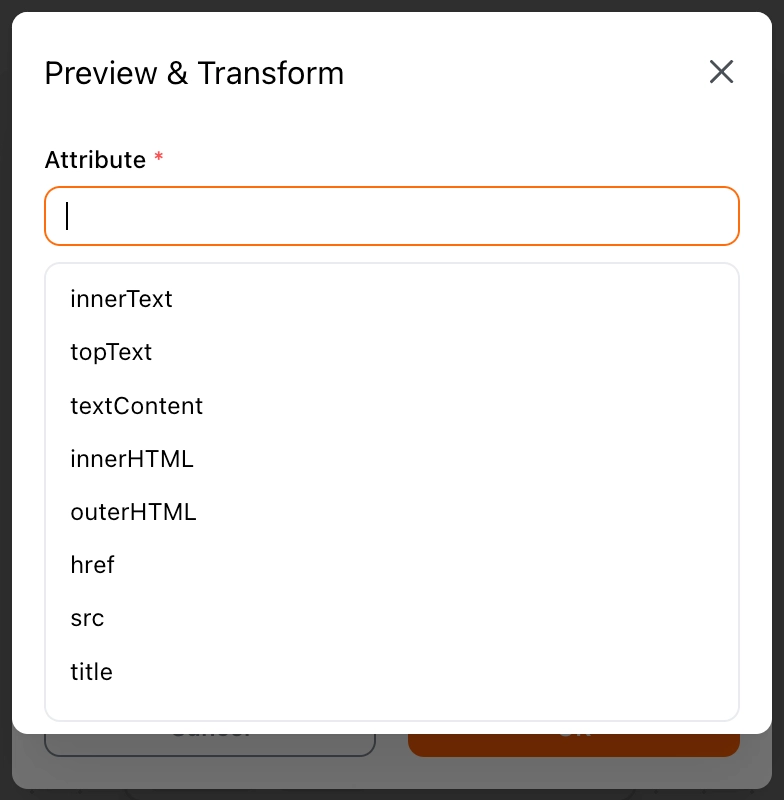
For example, if you want to extract the URL of an image, you can select the src attribute.
💡 Tip:
If you are setting the target element for interaction purposes (e.g., clicking an element), you usually don't need to configure this.
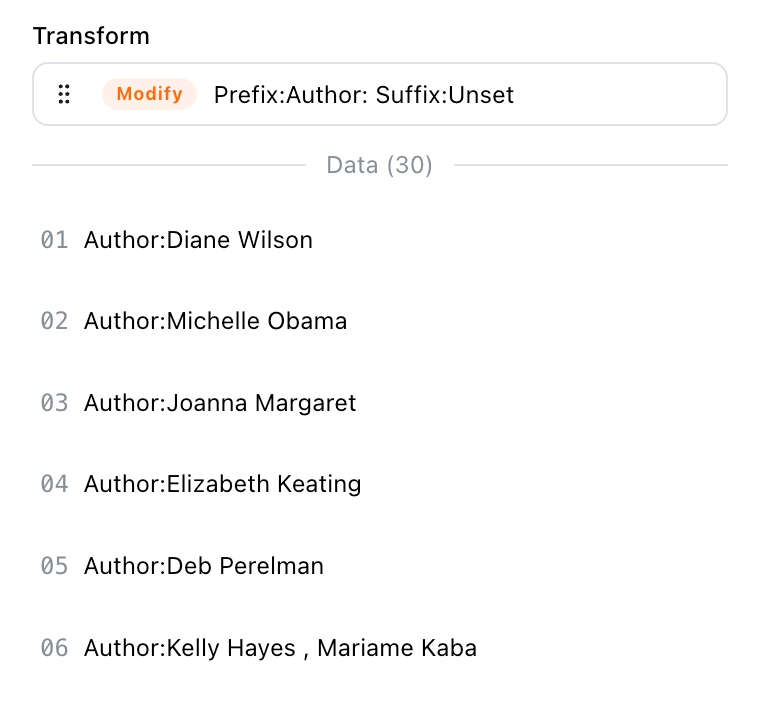
Transform Data (Optional)
If you need to transform the data, you can click the "Add New" button to add a transformer. For more information, refer to the Data Transformation section.
You can use data transformers to format prices, standardize dates, or apply simple business logic to the data.
For example, adding the prefix Author: to the data:
💡 Tip:
If you are setting the target element for interaction purposes (e.g., clicking an element), you usually don't need to configure this.